


5. HOW TO INSTALL CHEVRONS OVER A ROLL-UP DOOR?
STEPS TO REMOVE EXISTING DECALS
-
Heat the vinyl with a “heat-gun” (don’t overheat the paint!) and scrape with a plastic scraper.
-
Spray “RAPID REMOVER” on the remaining glue and let sit for one minute.
-
Scrape as much glue as possible (repeat the process).
-
Once the glue is removed, it is necessary to remove the “remover residue” using product such as “RAPID TAC”, especially if there is remover accumulated between the slats of roll-up doors.
-
Clean everything with soapy water and rinse well!
INSTRUCTIONS FOR INSTALLING CHEVRONS OVER ROLL-UP DOORS
-
Use a dry marker to trace a vertical center line after cleaning process has been done. A mixture 1:3 of isopropyl alcohol and water should be sprayed on before installation (wipe dry! Do not let evaporate)
-
CHEK.R.POINTS should always be installed BEFORE any 6" striping is installed over adjacent smooth metal or roll-up doors since proper alignment of both sections can be adjusted more easily with the full rolls.
-
From the top center mark, use a dry marker to determine the 45 degree angle left and right (inverted “V” pattern). Verify that the lower extremity of each chevron is symmetric (horizontal alignment) on the corresponding slat.


-
Many installers “pre-cut” the center 45 degree angle on a work bench. It is also more economical to work with a partial roll for left-hand cuts and a partial roll for right hand cuts to avoid waste, since all the cuts will start the succeeding chevron.
-
All full roll striping can be “butted up” with the preceding stripe at the 45 degree junction. You should not overlay, unless you decide not to remove on a section of backer then cut through both pieces to make your middle cut. It is imperative to avoid damage to the slats.


-
Always keep chevrons at least 3/16 inch from left and right extremities to avoid friction of the chevron under the rubber seal.
-
Position the right half of the first chevron on your pre-determined 45 degree line with the cut on the center line, and insure this position with masking tape. We suggest leaving an inch of material past the exterior edge of the door.
-
This chevron can now be installed permanently from the center line. When removing the backing, it is suggested not to release the last inch of backer at the exterior edge so that no adhesion can take place before the final vertical edge is cut. Once all the chevrons are installed, a ruler can be used (As a precaution to avoid cutting the slat, insert a protection under the material, to make the vertical exterior cut and ensure spacing of 3/16“ so the chevron does not ride up under the rubber seal.
-
Repeat the same process on the left side with the matching chevron.
-
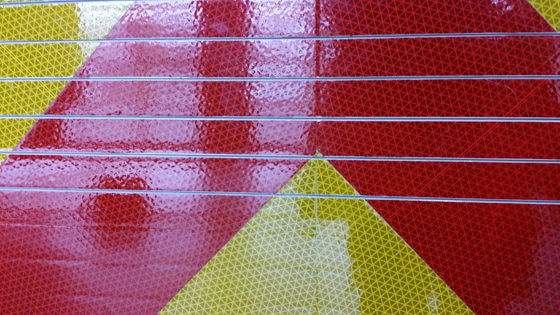
Once the entire door is done and “squeegeed down” to ensure adhesion (use a protective cloth), proceed to cut through the chevron between the slats using a SHARP Exacto blade held at two angles (pointing up and pointing down). Some installers do a straight cut first between the slats, before doing the two other cuts. Remove approx 1/8 inch between the slats. Do not penetrate more than 1/16 inch to avoid damage to the rubber seal.


-
If using 3M Diamond Grade material, all cut surfaces must be edge sealed. The edges of factory pre-cut rolls have already been sealed during the cutting process. Reflexite needs NO edge-sealing.
-
If a unit number is installed over the chevrons, it should be non-reflective and should be installed AFTER the cuts are completed in the chevron. Non-reflective will be more visible at night since it is installed on the high intensity conspicuity grade chevrons. Once the unit numbers or lettering is installed, follow the same procedure to cut through the unit number between the slats. It is not recommended to cut through the two thicknesses of material at the same time.
When installing unit numbers over chevrons, they should be non-reflective to avoid a “fire-ball” effect that will not be readable.


It is also possible to order “PRE-FABRICATED CHEVRON KITS” in both Reflexite and 3M DIAMOND GRADE material (3M can be “hot-sealed”). This process eliminates a center joint. Order must include dimensions and make of roll-up door. Application on the slats of a roll-up door can also be done in glass-bead sheeting which is a thinner material. They can be printed with your department logo or unit number.

